2.25.2011

one year & reflection

It almost snuck by me. I have been craft blogging for a year! I began a family blog in 2005. I finally got a little place of my own to create-my craft nest- last year and I began to create on a more regular basis. I did not have to clean up my project every evening and that has been totally awesome! I'm not worried about starting a new project because of the time it takes to set up and take down.

This is where it all started:


Now a little introspection.   I subscribe to A LOT of blogs: craft blogs. sewing blogs. mommy blogs. I should really count how many some day. I read them every day. As Erin wrote on the Manic Mommies blog the other day, I have "my regular diet of home decor porn." I love that...and at the same time it makes me sad. Do I really have an addiction to reading blogs or it is a healthy activity? I don't know. By the way, if you are a working mom, you will love Manic Mommies' hilarious podcast.


I definitely compare my blog and crafts to other blogs, although I know I will NEVER be as awesomely creative as Dana from MADE, or as inspiring as Kathleen from  Grosgrain, or take fabulous photos like Ashley. I admire all these women - and many more- they work so hard to create beautiful clothes, decorations, and homes and share them with us.


Not only do I not have their talent, I don't have the time, sadly. I am a working mom and I have to face it. As much as I would like to blog full time and even make it into a job, it's not going to happen. As I write this, it makes me really realize that. I did not even know that it was possible to do that a year ago!  I will not have a blog with a million new freaking awesome projects, nor will I have a million followers. In fact, no one really knows I am here. If you are reading this, I hope you'll continue on this journey with me.
But you know what? I still get so much satisfaction out of creating and sharing my creations. Learning a new skill from someone else and trying it out on my own is the way I want to spend my down time. I cannot sit down and watch TV without a project in my hands. I can not sit idly and watch my son play if I also am not "playing" with something (unless of course he lets me play with him!). I must create. It is my coffee. It is my joy. It is my passion. I get to create things for people I love. I get to say "I love you" with every handmade gift I give. That is a blessing.


And you know what else? I will continue to pretend that I am a stay at home mom and crafter on the weekends.  Because it makes me happy.
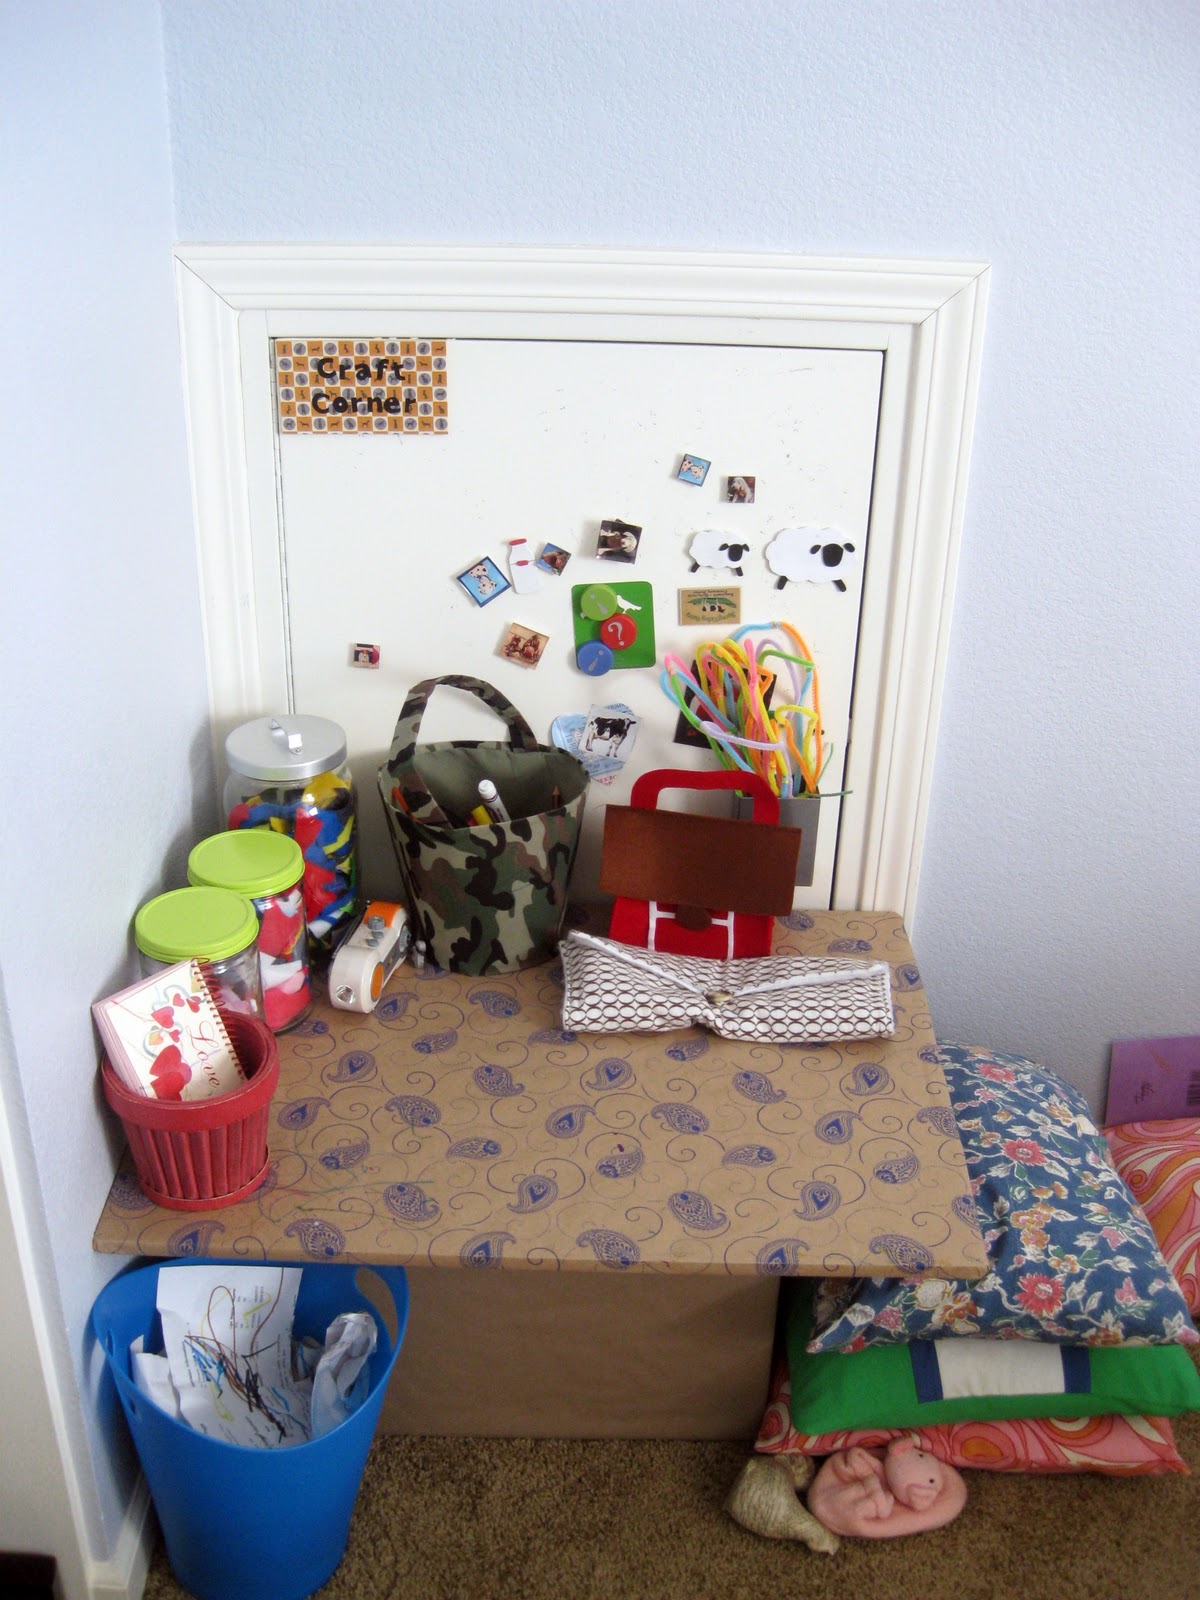
My son's little craft corner makes me terribly happy too!  It will soon be changing-stay tuned!

UPDATE: you can see my son's new and improved craft corner here.

2.20.2011

bunny swing


If you have not tried needle felting, you simply must! It is so gratifying and fun. Plus you hardly need anything to start. You only need wool batting , a felting needle , a piece of foam and some random bits of felt in whatever color you want as accents.

Licorice Tree, where I bought my wool, sent me a free felting needle, and the foam I use came from my son's couch his Grammy made him. And of course, I have tons of felt bits.

I love crafts that do not take a lot of expensive materials and supplies. What if you don't like it after you try it? But don't worry, your small investment for wool felting won't go to waste. I think you'll like it.
I made another owl mobile for a baby shower this weekend and I got the itch to felt some more. I did not know what I was going to make when I started, but it turned into a bunny. Below is the bunny in progress.
For some reason the bunny seemed to need a diaper and needed to be swinging away on a swing. As you may recall, I love hanging things...buntings, garlands, mobiles, hooks for bags, scarves, jackets...it really gets my motor running!

I used a colored craft stick aka tongue depressor. I cut it to the size I wanted (to fit the bunny's bum) with a razor blade and then poked a hole on each side with a thick needle. It did split the wood a little, but it since the bunny is so light weight, it does not matter.
 Run a piece of embroidery floss with a needle through each hole.
 And knot it on the bottom of the swing on each side.
 Since there are so many felting videos and tutorials I won't reinvent the wheel. Basically you just start sticking a needle in wool and create whatever shape you want.

This little bunny got a felt diaper. I free handed a diaper and cut it out and fit it on the bunny. Then I sewed little "x's" on each corner to secure the diaper.
 There!
 A little boy wanted to play with the bunny.
 Stick a little dot of hot glue on the seat of the swing and set the bunny on top.
 Hang it from a tack or hook in the ceiling.
 Here is that same cute little boy checking out the swinging bunny over his craft corner. I love how sunny this room is in the morning and how the blue walls and the yellow diaper are so cheery together.

So fun!
A few more felted animals will show up here on the blog soon.
 I'd love to see your creations if you decide to start needle felting.

2.13.2011

let's do one more heart!

I used the same technique as this one.

HAPPY VALENTINE'S DAY!

2.10.2011

barn valentine

Look what my boy is getting for Valentine's Day!


This awesome felt barn was in the Dollar Spot section at Target! The animals he already has, but since he's only 2, I'm hiding them in there anyway, along with a pair of sunglasses and some bathtub crayons.

grow some hearts...

...on a heart tree.

We cut off a branch in the backyard and made a heart tree from the hearts we made.

 With some play dough in the bottom of the vase and some moss on top. We have a nice mantel decoration.


HAPPY VALENTINE'S DAY!

2.09.2011

silhouette apron

I made two aprons with a silhouette of our boy's profile. One for my my mom at Christmas and one for my husband's mom for her birthday. This is the one you see here. I added an eyelet border to hers. (The eyelet was from a sheet set which my mom made into curtains for my college apartment. Now it is an apron border-I like to get my use out of fabric, you see!) .

freezer paper stenciled the silhouette first. Then using, an already made apron as a template, fold the existing apron in half (ties tucked in, so they are not severed when you cut around the template!) and lay it on top of your chosen piece of fabric - also folded in half lengthwise. Cut around the apron (template) leaving 1/2 inch seam allowance. Add the eyelet and ties and hem the edges- done. It's a tiny more complicated than that, but you get the idea. If I can do it, anyone who sews a bit can do it.  (the below photo is obviously not the fabric I used, but you get the idea)
^ look! I'm using picnik to edit photos- love it! ^
I used bias tape that I sewed on the edge (to close it) for the ties.

 Apron in action.
Actually I staged it. Nothin's in that pot!

oops, i missed a crumb when cleaning the counter!
Hope Grandma likes it! I am sure using my boy's head a lot for projects--loving it!

2.06.2011

easy valentine's day mirror "decal"

Yes, another silhouette project without a fancy Silhouette machine!  Cut out the head of your favorite kiddo from black card stock. Cut out a few hearts from scrapbook paper and stick them on a mirror with removable adhesive.  


Talk about easy.

2.05.2011

a few more days...

...to send in a valentine to a older person in NYC through etsy! must be delivered by Wednesday, so get them in the mail on Monday if you want to participate!


check out the deets here.

coffee filter heart

Has everyone seen all those amazing coffee filter wreaths (and poofs) out in blogland?! I love them. Here are a few that I dig: parlour home, jones design company, the pleasures of homemaking. There are many more.

And here's my take on it for the big ol'  heart day!

Here's a little tutorial on how I did it.
Fold up the coffee filters in 4ths and cut off the tip. I did this in multiples of 3-5 to make it go faster. It took the whole 200 filters in the pack! Sit down in front of a good movie or show for this!
The first few photos were taken at night, hence the poor quaility. 
You will get this:
Start hot gluing the folded )in 4ths) filters down on a piece of cardboard cut into a heart shape (I had two thin sheets of cardboard that I hot glued together to make it sturdier.) You could also spray paint it white, but I did not bother. Mine is about 16" tall.
 Feel free to give it a trim after all the filters are on so they are all uniform and even.


After ALL your 200 or so filters are secured, add a band around the edge to give it a nice finished look and also to give it more definition as a heart shape. I wanted to use wide pink satin ribbon, but alas, I had none and did not have time this week to go to the fabric store. So I improvised. I ripped a 3" strip of pink patterned fabric. I did not even bother to hem it. I decided I like the rough edge.

Start at the top edge of the filters and run a bead of hot glue for a few inches and carefully lay the strip (or ribbon) on top. You want some overhang of fabric on the back.

After you go all the way around, on the top edge, turn the heart over and secure the fabric (ribbon) on the back. It will bunch in certain areas, just smooth it out the best you can.

Make sure that your points are defined by tightening them up with (by hot gluing it down) a bone folder or toothpick, like so.  Not pictured: at the ends of the long strip of fabric (mine were at the bottom tip, fold the fabric over, like a hem and hot glue)

I added a strip of fabric as a hanger. I ran a straight stitch along both sides for the hanger piece, as you can see below.  I added a felt flower with hot glue to the top to hide the nail.
Voila! It's done! 200 coffee filters later! (get the cheap kind!)
 The best part? Except for the filters, which were only a few dollars, this project was free! I had everything else on hand!
HAPPY VALENTINE'S DAY!


2.02.2011

photo birthday card

My husband's birthday was a few weeks ago and I made him this card. I asked his mom for photos of him from when he was a child. There were even two birthday photos, so I used those.
I planned on doing more with the photos if he were going to have a party, but he decided he just wanted dinner with the family. Maybe next year!

Since I did not get to see him on his official birthday (opposite work schedules) I left the card for him on his lap top where he would be sure to see it.
 I added a paper "present," ribbon and a mini bow to the photo, like he was holding it.
inside: