5.14.2011

blue bird with flowers

I made this one for my girl friend's baby daughter who visited from Seattle this past week. The flowers on the invisible line are from a Hawaiian lei I disassembled.

This one (and the chubby flying one from the last post) is for a nice lady who contacted me about my birdies in Michigan. Hi Tracy!

5.07.2011

blue birds flying

in honor of the fantastic cooler beautiful gorgeous weather today (it was 90 degrees the past few days-ick!):
felted blue birds


and one more--standing blue bird


 she looks like she standing in first position-ballerina blue bird.

5.06.2011

balance board

I have been meaning to make this balance board for a long time. I decided to cover it with fabric instead of duct tape like elsie marley since I am lazy and that is what I had handy. Yup, it's fun! On the carpet. On the tile, not so much. Thankfully I tried that out before my son did!

Even kitty cat approved.

5.04.2011

banner cheer

I made this little banner for a little girl in the hospital who needed a little cheering. I hope it worked a little.

 I used scrap fabric, made the felt flowers with paper leaves (from an old birthday card) and some ancient seam binding still in the package that worked just great!
I really hope I took off that hot glue string before I sent it off! Fingers crossed.
If you don't mind praying for this little girl K., please pray for her health and emotional well being during this trying time. Thank you!

dyed wool

We kool-aid dyed some more wool roving! I love it! Cheap, easy and fun! I kind of wet-felted it by accident, but since I plan to needle felt with it, it's totally fine. This was the last of my first order (8 oz) of wool and I got some more in the mail yesterday! woohooo! And Licorice Tree gave me a little cute baggie of already dyed wool for free! How cool it that?
yup, that's a little kiss stamp he got from the library! no, i did not tattoo my 2 year old.

Let me tell you- my son LOVES wool! He had a blast carrying this dyed wool around after it was dry. Who knew that wool could be so much for for a 2 year old. I guess he gets it from me since I am now a HUGE wool fan now that I have discovered needle felting.

He cracked me up when he sat on his rainbow chair (yes, I let him sit on lawn furniture in the family room if he drags in in from out back) and started stacking the wool on his feet saying he was keeping his feet warm. Thankfully his feet were clean!
love those feet! and everything attached to them!
btw, all these photos are completely unedited to show their true colors.

mother's day card

'cause that's how my mama is! she makes lemonade from lemons.

4.30.2011

towel rug

I have been keeping around some old holey bath towels for over a year in hopes of making a rug from them, but could not figure out how to accomplish a nice looking rug with a crappy looking towel. That was until Sparkle Power! came to my rescue.
Sparkle Power
 She made a rug with the towel inside of a covering! Now why did I not think of that? I love the internet and blogs (when they are not a time-suck and give me brilliant ideas, of course).
I have to admit, I love Candace's binding, but I was in too much of a hurry to learn that new skill. I needed it done in a hour,when my son would wake up from napping. Plus I had about a billion other things I needed to speed through during his nap. This is my version.


Sooooooo, I used a pillow case (we upgraded to a king mattress and therefore king pillows a while ago so this pillow case, which I love, was not to be used again on our bed. And I did not think my son would want it in his bed) to cover a double layer thickness of towel (trimmed to size).


Next, stuff it in to the pillow case. Cut off the excess of the pillow case, and sew it shut.
Then run a stitch 3 inches around the perimeter. I won't lie and say that was easy with all that towel in there. My machine struggled and I had to get it back on track a few times, but the ol' machine got through it and I gave it a pat on the back when it was done!


 done.
 A cushy place to land after getting clean.

4.23.2011

happy easter!

He is risen!

taken with my droid

He is risen indeed!

Thank you God for all you have given us. The sky, the earth, the rain, the sun, my precious family and most of all your life and my salvation.

4.15.2011

easter tea towels

Gosh! It's almost Easter and I haven't posted these Easter tea towels yet! Good thing they are super simple.

 All you need are:
* white tea towels. I got mine from Target, but they are also at the Dollar Store
* cute fabric (mine is from walmart over 2 years ago!)
* design (the bunny I used is pretty much Martha Stewart's bunny)
* iron
* steam-a-seam 2 (pictured below)
Trace your bunny (or eggs, or any other shape) on the paper backing of the Steam-a-Seam2

Place it on your fabric

And, just like that, you are done! I have given several as gifts! Fun to give, because they are decorative and functional. My favorite type of gift!
Sorry the pics aren't so great! That comes with the territory of a working Mom. You take photos of things when you can, not when the light is awesome!
HAPPY EASTER!
HE IS RISEN!

4.14.2011

easter creatures and wheat grass

Day 5
 Who knew it would be so hard to find wheat grass seeds. I went to 2 stores and called 3 others. My mom called at least 4 stores and finally found the seeds at a health food store. geeez! I was so glad when she found them and brought them to me so that my little son and I could plant the grass and watch it grow.
Day 8
 I thought the wheat grass was the perfect setting my newest little Easter friends. Meet Peep.
 Here is Peep, with her siblings Cheep, and Cheepie.  Cheepie was adopted by a friend today.
Day 9
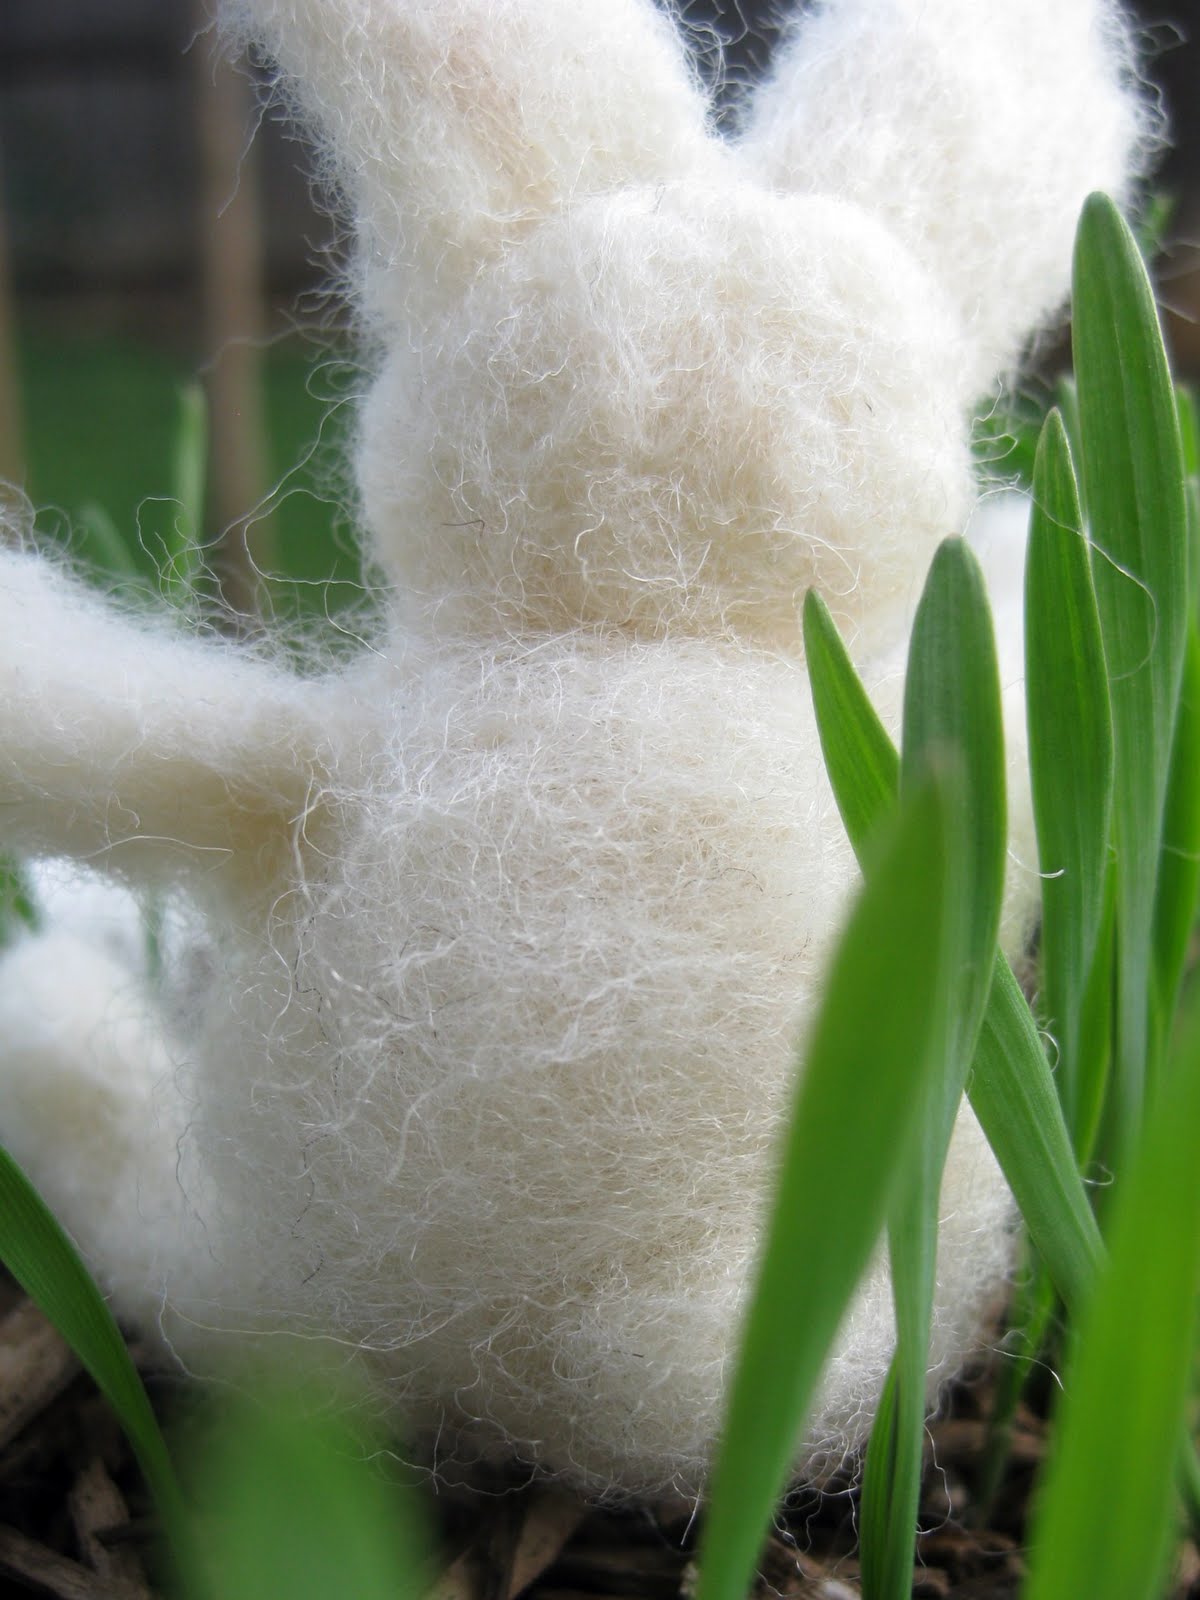
 And here's the Easter bunny!
 and his little cotton tail
 So pretty with the sun's rays shining through the blades.
 By the way, I dyed the chicks' wool yellow using KOOL-AID! My aunt told me about this so I was so excited to try it out. I plunged the wool in warm water then in another bowl heated water in the microwave until it boiled and poured the lemonade flavored kool-aid in it. Then I stuck the wool into the kool-aid mixture bowl and microwaved it for 2 minutes, let it cool for 2 minutes and then microwaved it for 1 minute. I combined several methods I found on the web. I suggest only doing this if you plan on needle felting the wool. If you want to dye wool yarn, there are special tutorials on that. I wouldn't want you to wet felt your wool, even a little, if you weren't wanting that!

The photo below does not show the true color of the yellow wool. The chicks are a better representation on the color.
And just for fun...look what I woke up to the other morning! So cool! The mirror across from our coat closet reflected my son's silhouette on the door.
Here are the (extremely embarrassingly dirty) mirrors.
HAPPY EASTER!